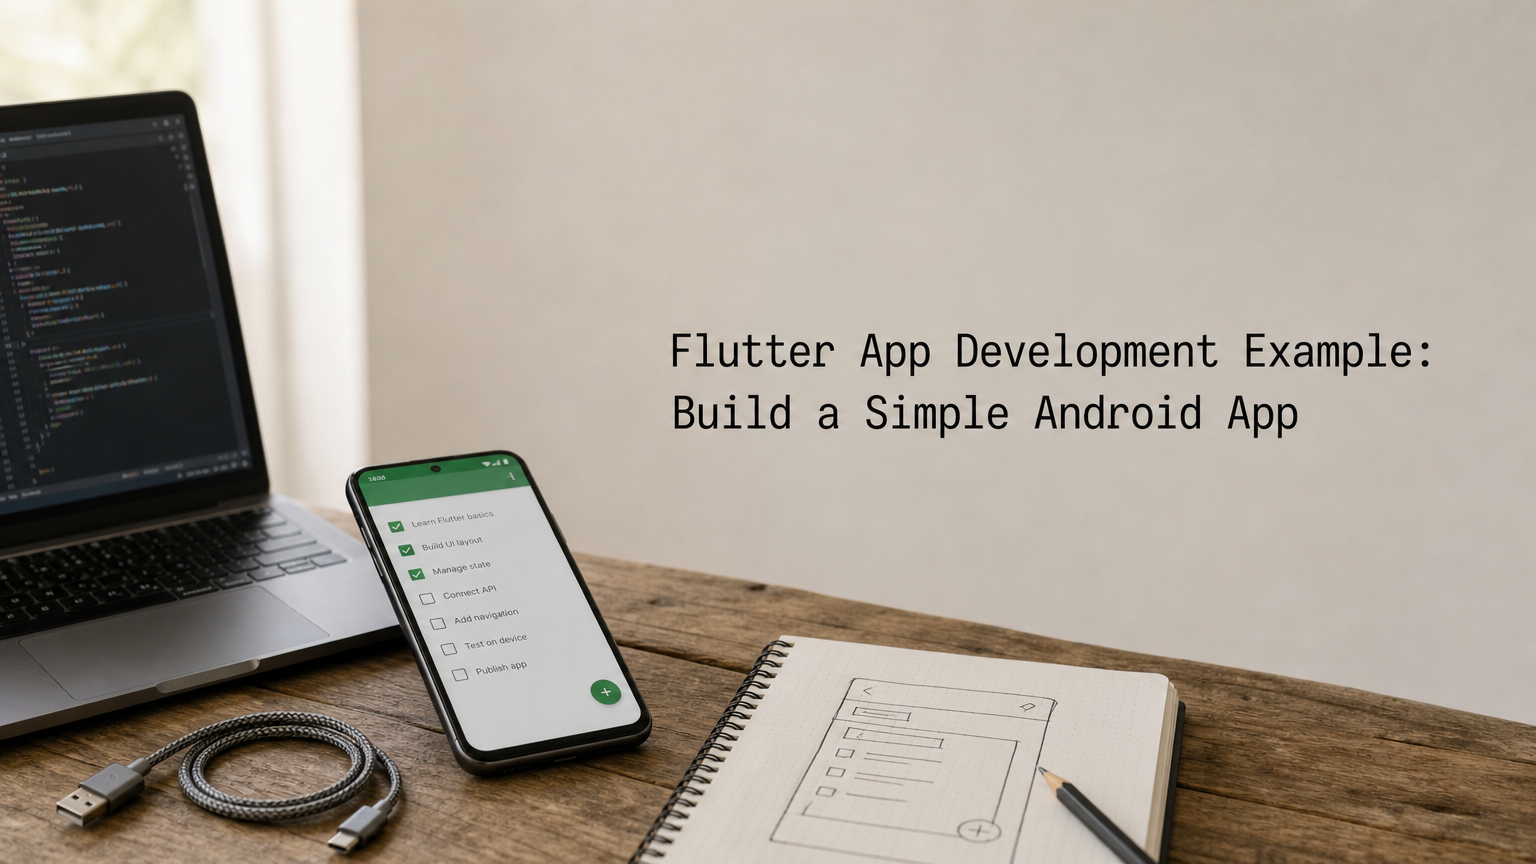
The best Flutter app development example for a beginner is a small task list app. You install Flutter, create a project with flutter create, replace the starter code with a stateful list screen, save the data with the shared_preferences package, test it, and build an APK for Android. You can finish it in an afternoon, and the whole app lives in one main.dart file.
Most tutorials either stop at the counter app that Flutter generates or throw a huge project at you. Neither teaches you how the pieces fit. Android setup adds another hurdle, because a missing SDK component or an unaccepted license stops many beginners before they write a single widget.
This guide takes you through five steps: setup, the app screen, saving data, testing, and an Android release build. Every code block is copy-ready. Eagle Technologies builds cross-platform apps with Flutter, so the example sticks to habits that scale: small widgets, state kept in one place, and a test before every build.
What you build and what you need first
You build a task list app that adds, completes, deletes and saves tasks. Before you start, install the Flutter SDK, Android Studio and a code editor. The project is small on purpose, yet it covers the parts of Android app development using Flutter that every real app needs.
The app and the concepts it teaches
Each feature in the app exists to teach one Flutter idea. Work through the table once and you will recognize the same building blocks in far larger projects.
| Feature | Flutter concept you learn |
|---|---|
| App shell and colors | MaterialApp, ThemeData, Material 3 |
| Scrolling task list | ListView.builder, CheckboxListTile |
| Add and delete tasks | StatefulWidget, setState, TextField, Dismissible |
| Tasks that survive a restart | async code, shared_preferences, JSON |
| Checking that it works | Widget tests with flutter test |
| Shipping to users | APK and app bundle builds |
Flutter is Google's open-source UI toolkit, and you write it in Dart. The same code can target Android, iOS, web and desktop. This example stays on Android so the setup stays short, and you will not need a Mac or Xcode.
Tools to install first
You need these four things on your computer:
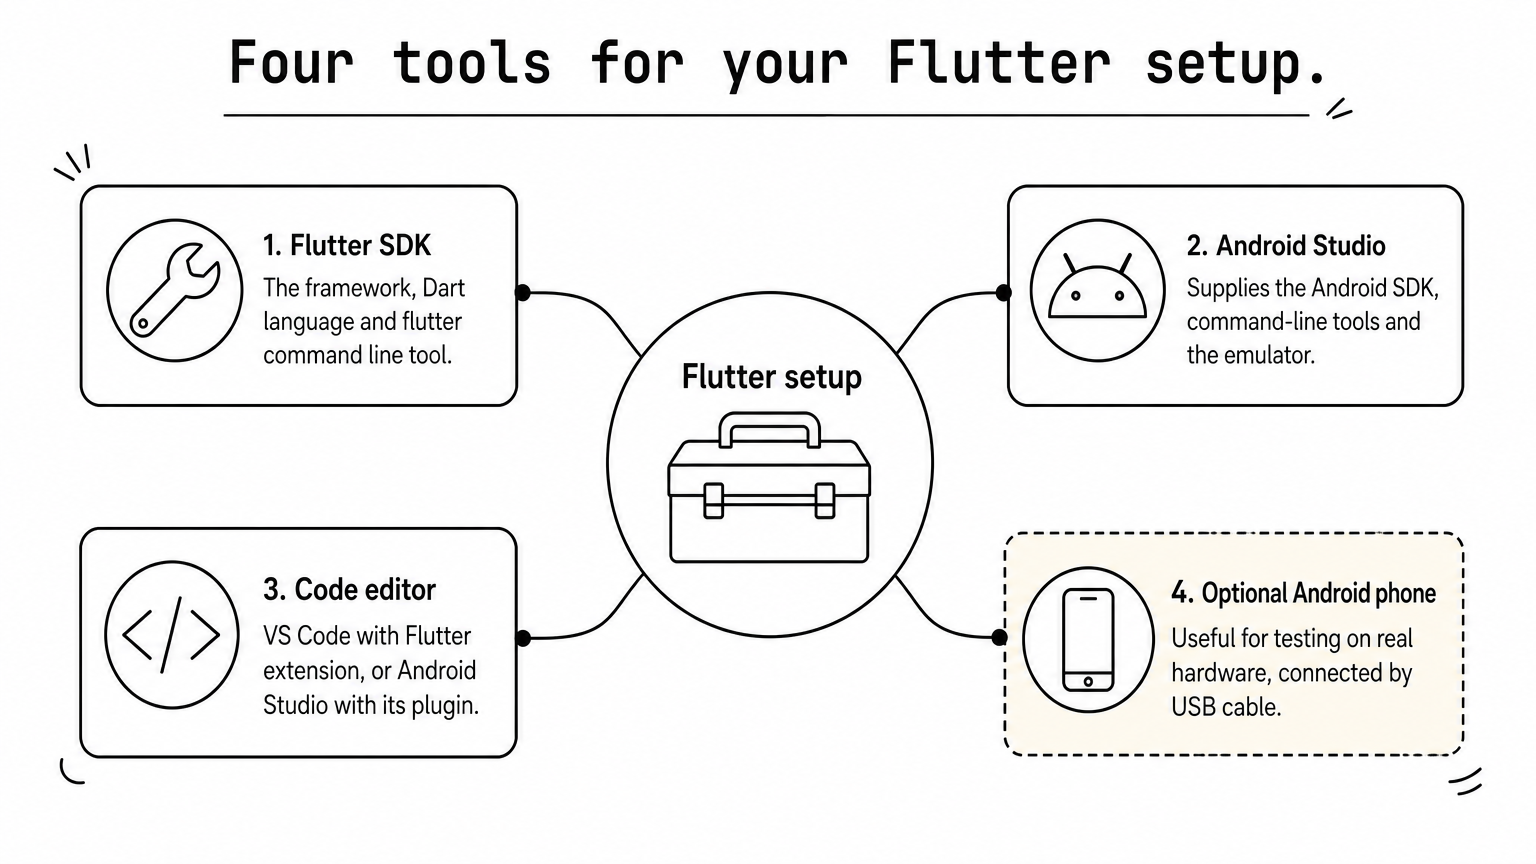
- Flutter SDK: the framework, the Dart language and the
fluttercommand line tool. - Android Studio: it supplies the Android SDK, the command-line tools and the emulator.
- An editor: VS Code with the Flutter extension, or Android Studio with its Flutter plugin.
- An Android phone and USB cable (optional): useful for testing on real hardware.
Install Android Studio even if you plan to write every line in VS Code. Flutter relies on the Android SDK that ships with it, and the emulator lives there too. You also need basic programming knowledge. If you have used JavaScript, Java or Kotlin, Dart will feel familiar quickly.
Android Studio supplies the Android SDK and emulator that Flutter needs, even when you write all your code in VS Code.
Step 1. Install Flutter and create the project
Install the Flutter SDK, run flutter doctor until the Android line is clean, then create the project with flutter create. Do not skip the doctor check. Almost every "my app won't run" problem in Android app development using Flutter traces back to this step.
Install the SDK and check the setup
Follow the install page for your operating system at docs.flutter.dev/get-started/install. It walks you through downloading the SDK and adding it to your path. Then open Android Studio, go to the SDK Manager, and install the latest Android SDK plus the Android SDK Command-line Tools.
Next, accept the licenses and run the doctor:
flutter doctor --android-licenses
flutter doctor
flutter doctor prints a checklist. You want a green tick next to the Flutter and Android toolchain lines. Missing Chrome, Visual Studio or Xcode entries do not matter for this Android-only project.
Fix the usual flutter doctor errors
Three errors cause most of the trouble, and each has a short fix.
| Message | Fix |
|---|---|
| Unable to locate Android SDK | Open Android Studio once so it installs the SDK, or point Flutter at it with flutter config --android-sdk <path> |
| cmdline-tools component is missing | Install "Android SDK Command-line Tools" in the SDK Manager |
| Android license status unknown | Run flutter doctor --android-licenses and accept each prompt |
Create and run the project
Create the project from a terminal. The --org flag sets the first part of your Android package ID, so use a reverse domain you own or will own.
flutter create --org com.yourcompany task_list
cd task_list
flutter run
Project names must be lowercase with underscores, so task_list works and Task List does not. Without a platform flag, Flutter also generates folders for iOS, web and desktop. You can ignore them.
Before running, start a device. In Android Studio, open Device Manager and create an emulator with a recent system image. To use a real phone, open Settings, then About phone, tap Build number seven times, and switch on USB debugging in Developer options. Check that flutter devices lists it. The first build is slow because Gradle downloads dependencies, and later builds take seconds.
You will mostly touch four places in the new project:
lib/main.dartholds your app code.pubspec.yamllists packages and assets.test/widget_test.dartholds the default test, which you replace in Step 4.android/holds the native Android project, which you edit in Step 5.
If flutter doctor is not clean on the Android line, nothing after this step will run, so fix it first.
Step 2. Build the task list screen
Open lib/main.dart, delete the counter code, and write three things: a themed app shell, a small Task class, and a stateful screen that lists tasks. The screen is the heart of this Flutter app example, so take your time here. Everything else builds on it.
Write the app shell and the Task class
The shell is a StatelessWidget because it never changes. It sets the title and a Material 3 theme generated from one seed color. The Task class holds a title and a done flag.
import 'package:flutter/material.dart';

void main() {
  runApp(const TaskApp());
}

class TaskApp extends StatelessWidget {
  const TaskApp({super.key});

  @override
  Widget build(BuildContext context) {
    return MaterialApp(
      title: 'Task List',
      theme: ThemeData(colorSchemeSeed: Colors.teal, useMaterial3: true),
      home: const TaskListScreen(),
    );
  }
}

class Task {
  Task({required this.title, this.done = false});

  final String title;
  bool done;
}
Add the stateful list screen
Paste this below the Task class. It will not compile until the whole block is in place.
class TaskListScreen extends StatefulWidget {
  const TaskListScreen({super.key});

  @override
  State<TaskListScreen> createState() => _TaskListScreenState();
}

class _TaskListScreenState extends State<TaskListScreen> {
  final List<Task> _tasks = [];
  final TextEditingController _controller = TextEditingController();

  @override
  void dispose() {
    _controller.dispose();
    super.dispose();
  }

  void _submit(String value) {
    final title = value.trim();
    if (title.isEmpty) return;
    setState(() => _tasks.add(Task(title: title)));
    _controller.clear();
  }

  void _toggle(Task task) {
    setState(() => task.done = !task.done);
  }

  void _remove(Task task) {
    setState(() => _tasks.remove(task));
  }

  @override
  Widget build(BuildContext context) {
    return Scaffold(
      appBar: AppBar(title: const Text('Task list')),
      body: Column(
        children: [
          Expanded(
            child: _tasks.isEmpty
                ? const Center(
                    child: Text('No tasks yet. Add your first one below.'),
                  )
                : ListView.builder(
                    itemCount: _tasks.length,
                    itemBuilder: (context, index) {
                      final task = _tasks[index];
                      return Dismissible(
                        key: ObjectKey(task),
                        background: Container(color: Colors.red.shade200),
                        onDismissed: (_) => _remove(task),
                        child: CheckboxListTile(
                          value: task.done,
                          onChanged: (_) => _toggle(task),
                          title: Text(
                            task.title,
                            style: TextStyle(
                              decoration: task.done
                                  ? TextDecoration.lineThrough
                                  : null,
                            ),
                          ),
                        ),
                      );
                    },
                  ),
          ),
          SafeArea(
            child: Padding(
              padding: const EdgeInsets.all(12),
              child: Row(
                children: [
                  Expanded(
                    child: TextField(
                      controller: _controller,
                      decoration: const InputDecoration(
                        hintText: 'Add a task',
                        border: OutlineInputBorder(),
                      ),
                      onSubmitted: _submit,
                    ),
                  ),
                  const SizedBox(width: 8),
                  IconButton.filled(
                    onPressed: () => _submit(_controller.text),
                    icon: const Icon(Icons.add),
                    tooltip: 'Add task',
                  ),
                ],
              ),
            ),
          ),
        ],
      ),
    );
  }
}
Three details are worth understanding. setState tells Flutter to rebuild the screen, so every change to _tasks happens inside it. The Dismissible needs a stable key, and ObjectKey(task) ties the swipe to the right task even after the list changes. The controller is disposed in dispose() so the text field does not leak memory.
Run it and use hot reload
Run flutter run and try the app. Type a task, press the plus button, tick the box, and swipe a task sideways to delete it. All four actions should work.
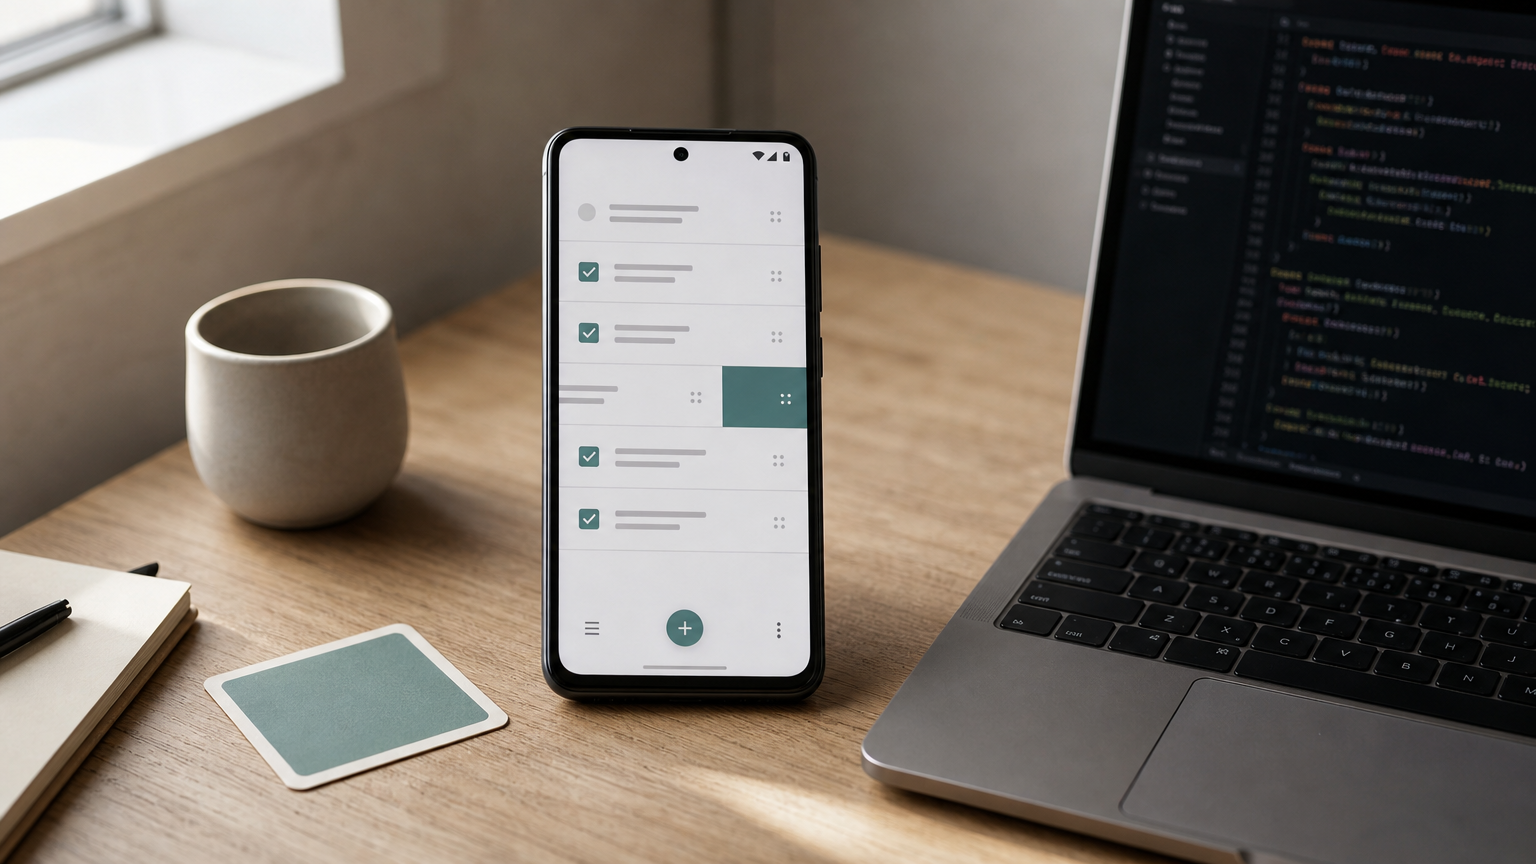
Now change the seed color from Colors.teal to Colors.indigo and save. In VS Code, saving triggers hot reload. In a terminal session, press r for hot reload and R for a full hot restart. The new theme appears in about a second with your tasks still on screen.
Hot reload keeps state, but a restart wipes it. Close the app, reopen it, and the tasks are gone. That is the problem Step 3 fixes.
Keep all changes to your list inside setState, and Flutter will redraw exactly what changed.
Step 3. Save tasks on the device
Add the shared_preferences package, give Task two JSON methods, and load and save the list from the screen state. Saving locally is the first thing that makes a sample project feel like a real Android app. It takes about 30 lines.
Add the package and JSON methods
Add the package from the project folder:
flutter pub add shared_preferences
This edits pubspec.yaml and downloads the package. Next, add two imports at the top of main.dart:
import 'dart:convert';
import 'package:shared_preferences/shared_preferences.dart';
Then replace the Task class with a version that can turn itself into JSON and back:
class Task {
  Task({required this.title, this.done = false});

  final String title;
  bool done;

  Map<String, dynamic> toJson() => {'title': title, 'done': done};

  factory Task.fromJson(Map<String, dynamic> json) {
    return Task(title: json['title'] as String, done: json['done'] as bool);
  }
}
Load and save in the screen state
Add these members to _TaskListScreenState. initState runs once when the screen is created, so it is the right place to start loading. It cannot be async, so it calls a separate async method.
@override
void initState() {
  super.initState();
  _load();
}

Future<void> _load() async {
  final prefs = await SharedPreferences.getInstance();
  final raw = prefs.getString('tasks');
  if (raw == null || !mounted) return;
  final decoded = jsonDecode(raw) as List<dynamic>;
  setState(() {
    _tasks
      ..clear()
      ..addAll(decoded.map((e) => Task.fromJson(e as Map<String, dynamic>)));
  });
}

Future<void> _save() async {
  final prefs = await SharedPreferences.getInstance();
  final json = jsonEncode(_tasks.map((t) => t.toJson()).toList());
  await prefs.setString('tasks', json);
}
Finally, call _save() as the last line of _submit, _toggle and _remove. For example, _toggle becomes:
void _toggle(Task task) {
  setState(() => task.done = !task.done);
  _save();
}
Run the app, add two tasks, tick one, then stop and restart it. Both tasks should come back, with the tick intact. The mounted check in _load stops the code from touching a screen that has already closed.
shared_preferences suits small pieces of data such as settings or a short list. For larger or relational data, move to a database such as SQLite.
Store small data as JSON in shared_preferences, and reach for a database only when the data outgrows it.
Step 4. Test the app before you build
Replace the default widget test with one that adds a task and checks that it appears, then run flutter test and flutter analyze. Tests catch the small breakages that hot reload hides, and they take a few minutes to write.
Write a widget test
The template's test/widget_test.dart still tests the counter app, so it fails now. Replace its contents with this:
import 'package:flutter/material.dart';
import 'package:flutter_test/flutter_test.dart';
import 'package:shared_preferences/shared_preferences.dart';
import 'package:task_list/main.dart';

void main() {
  testWidgets('adds a task to the list', (tester) async {
    SharedPreferences.setMockInitialValues({});
    await tester.pumpWidget(const TaskApp());
    await tester.pump();

    expect(find.text('No tasks yet. Add your first one below.'), findsOneWidget);

    await tester.enterText(find.byType(TextField), 'Buy milk');
    await tester.tap(find.byIcon(Icons.add));
    await tester.pump();

    expect(find.text('Buy milk'), findsOneWidget);
  });
}
SharedPreferences.setMockInitialValues({}) gives the test an empty fake store, so it never touches a real device. The import path uses your project name, so change task_list if you named yours differently.
Run the checks and try a real device
Run both commands from the project folder:
flutter test
flutter analyze
flutter test should report one passing test. flutter analyze flags unused imports, missing const keywords and likely bugs, and fixing its warnings is cheap.
Then test beyond the emulator. Run the app on at least one physical Android phone and one emulator with a different screen size, and check that the input row stays visible when the keyboard opens. For performance checks, use flutter run --profile on a real device, because profile mode does not run on emulators.
A passing widget test plus a clean analyzer run is the cheapest insurance you can add before every build.
Step 5. Build the Android release
Set your app name and package ID, sign the build with your own key, then run flutter build apk to share the app directly or flutter build appbundle to publish on Google Play. This is the step where a sample project becomes something other people can install.
Set the app name and package ID
Open android/app/src/main/AndroidManifest.xml and set android:label to the name users see under the icon, such as Task List. Then open android/app/build.gradle, or build.gradle.kts in newer projects, and check applicationId. It should read com.yourcompany.task_list, matching the --org value from Step 1.
Choose the application ID before you publish. Google Play uses it to identify your app, and you cannot change it afterwards without publishing a new app.
Choose between an APK and an app bundle
Both formats come from the same code. They differ in who receives them.
| Format | Command | Output path | Use it for |
|---|---|---|---|
| APK | flutter build apk --release |
build/app/outputs/flutter-apk/app-release.apk |
Installing directly on phones and sharing with testers |
| App bundle | flutter build appbundle --release |
build/app/outputs/bundle/release/app-release.aab |
Uploading to Google Play |
Add --split-per-abi to the APK command to get smaller files, one per processor type. Play expects an app bundle for new apps and generates optimized APKs for each device from it.
Sign the release build
By default the template signs release builds with the debug key. That installs fine on your own phone, but Google Play will not accept it. Create an upload key once with Java's keytool:
keytool -genkey -v -keystore ~/upload-keystore.jks -keyalg RSA -keysize 2048 -validity 10000 -alias upload
Then reference the keystore from a key.properties file and the Gradle file, as described in the official Flutter Android deployment guide. Back up the keystore and keep it out of version control. To publish, create a Google Play developer account, which carries a one-time registration fee, upload the .aab in Play Console, and complete the store listing. Google reviews the app before it goes live.
Build an app bundle for Google Play, an APK for direct sharing, and never ship a release signed with the debug key.
Where to take your Flutter app next
You now have a complete Flutter app development example: a working Android task list with a themed interface, local storage, a widget test and a signed release path. Every step used a core Flutter skill you will reuse, from setState and async loading to flutter build.
Good next moves are an edit screen, due dates, and a state management package such as Provider or Riverpod once your app grows past a couple of screens. If you would rather hand the build to a team, Eagle Technologies delivers Flutter and native Android apps, and you can talk to Eagle Technologies about your app idea.